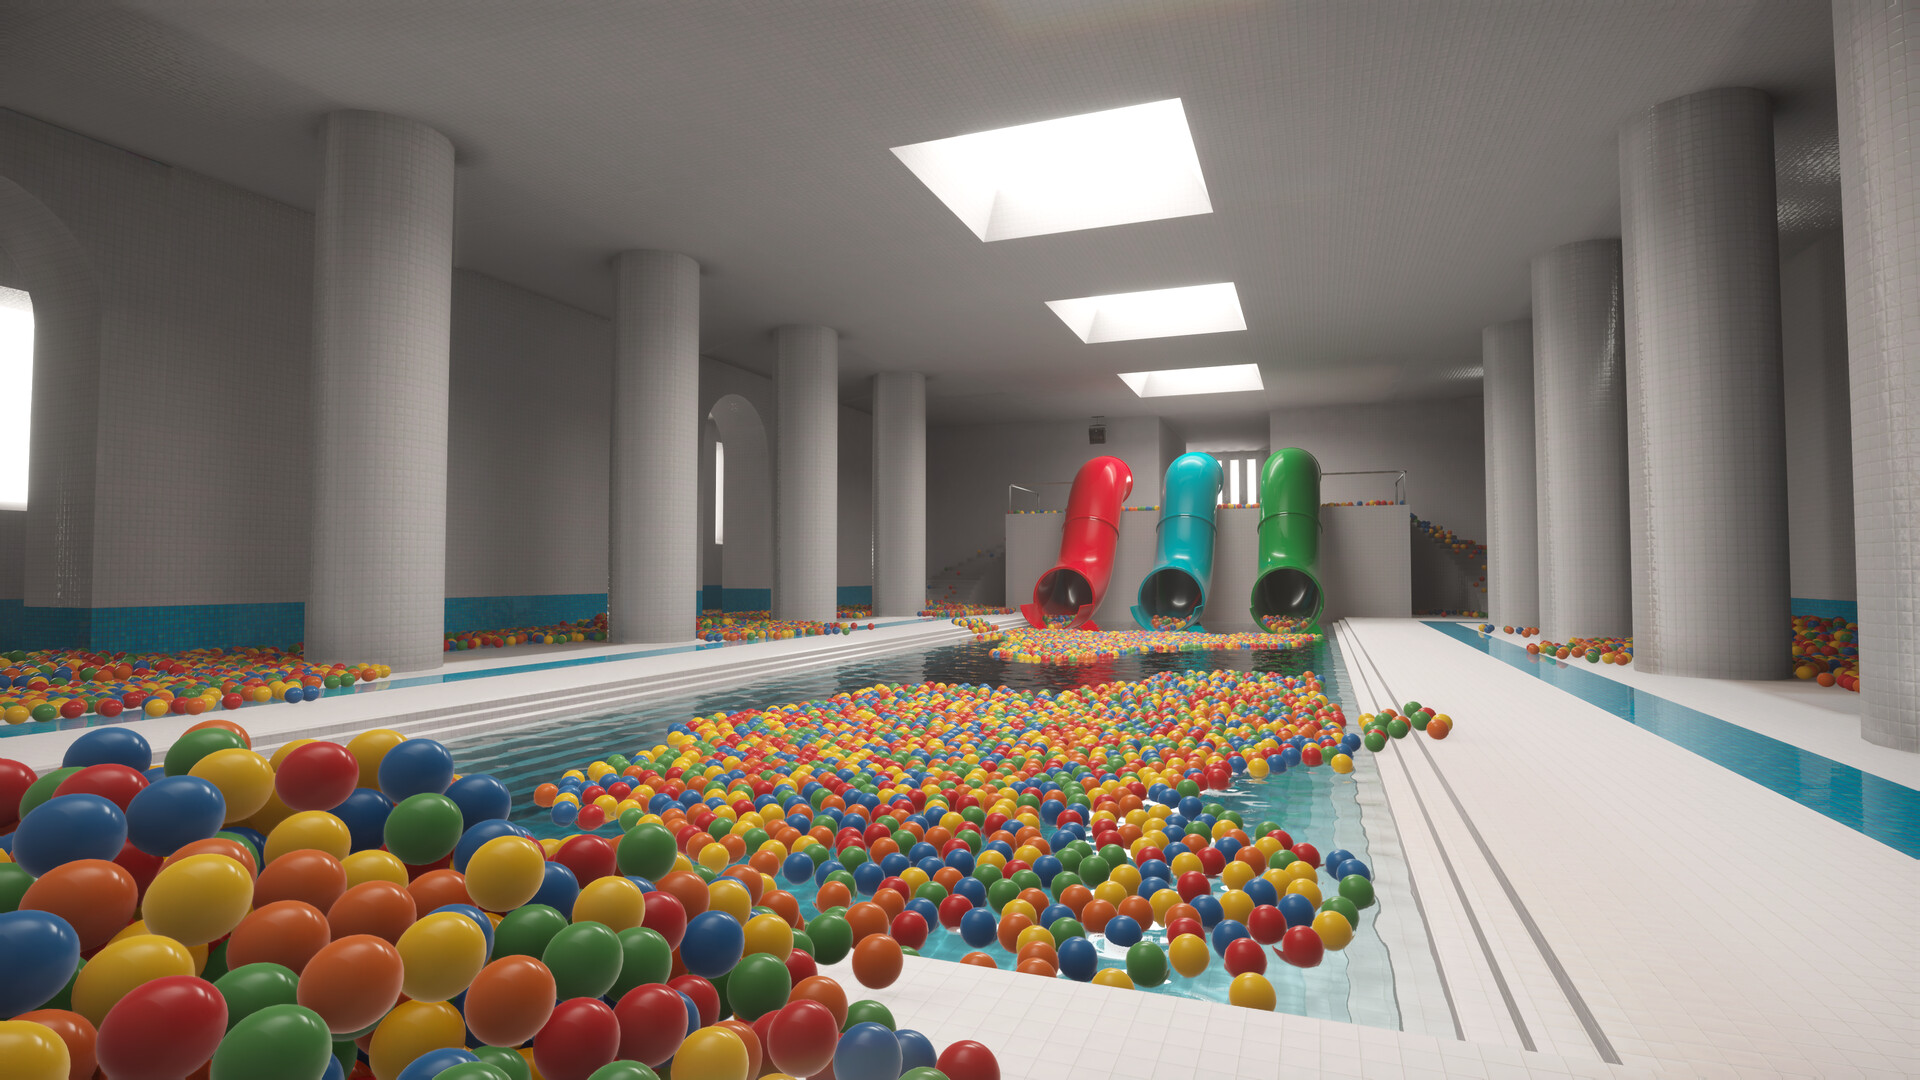
Fill the Pits and Open the Next Areas
Fill all eight numbered ball pits, buying area keys as you earn enough to reach more balls, then take the final exit in the central Playroom. A practical route runs through the Waiting Area, Backroom, Poolroom, School, Office and Hotel; opening the next area does not require removing every loose ball from the previous one.
Start Your First Working Shift
- Read the opening message at the computer in your starting office to learn your instructions before heading into the Playroom.
- Launch light.exe on the starting computer to switch on the lights and begin work.
- Collect nearby loose balls until your bag is full; your starting bag holds 50 balls.
- Unload your bag into the first ball pit to advance its requirement and earn money toward skills, equipment and keys.
- Return to the starting office when the work period is ending, where you can check the computer for purchases and the next shift.
Keep your opening collection trips close to the office. Learn the route between the loose balls, your chosen pit and the computer before exploring farther away. Finishing the whole starting area can wait while you establish a reliable collection routine.
Use Pit Rewards to Improve Your Shifts
Pit progress comes from deposited balls, so a full bag or a loaded machine still needs unloading. An area's remaining loose balls are tracked separately from a pit's required total. You can fill pits outside numerical order, but focusing deliveries on a useful reward makes your next goal easier to follow.
| Deposit Target | Reward |
|---|---|
| Ball Pit 1: 1,500 balls | Unlocks the Sprint ability. |
| Ball Pit 2: 2,500 balls | Makes Coffee available. |
| Ball Pit 3: 5,000 balls | Unlocks the Crouch ability. |
| Ball Pit 4: 10,000 balls | Makes the Scanner available. |
| Ball Pit 5: 20,000 balls | Unlocks the Fruit Basket. |
| Ball Pit 6: 40,000 balls | Unlocks more Robot Vacuums. |
| Ball Pit 7: 40,000 balls | Unlocks more Ball Vacuums. |
Prioritize Sprint early because longer journeys become easier once you can move faster. When collection slows down, consider Ball Magnet, Quick Grab and Vacuum Collect, then increase carrying capacity as your bag starts filling faster. Quick Hands helps when unloading becomes the part of the job that holds you up.
Buy the Area Keys in a Practical Order
Use the key board in the starting area to purchase access. Count the central Playroom doors from the starting Playroom entrance. You can buy the next key while the previous area still contains loose balls, then return with better equipment later.
- Buy the Waiting Area key for €10 to open the second door on the right.
- Buy the Backroom key for €25 to open the first door on the right.
- Buy the Poolroom key for €50 to open the first door on the left.
- Buy the School key for €60 to open the second door on the left.
- Buy the Office key for €90 to open the third door on the right.
- Buy the Hotel key for €100 to open the third door on the left.
Collect Through the Waiting Area and Backroom
In the Waiting Area, work with the suction intake to process groups of balls. Once the Push Broom is available through shop.exe, use it to push nearby piles toward that intake. Pick up isolated balls by hand when sweeping them together would take longer than collecting them.
The Backroom has long aisles and larger groups of balls. Clear recognizable sections, placing available collection equipment near dense piles and moving it as the surrounding floor empties. When collection becomes inefficient, opening the Poolroom gives you another place to work without forcing a complete Backroom cleanup.
Move Poolroom Balls into Collection
Floating balls still need to reach the Poolroom's collection system. Work through manageable sections with sweeping, hand collection or suction equipment, checking pool edges after the larger groups are gone. Use the Scanner for difficult leftovers instead of repeatedly searching the same cleared surfaces.
Respect the School Rules and Answer Office Calls
Walk through School corridors because sprinting there can trigger the principal. The stairs are exempt, but release Sprint before stepping into a corridor again. Check red lockers and classroom corners when gathering balls, and allow enough time to retrace the staircase before darkness.
In the Office, interrupt collection when you hear a telephone ringing and answer it promptly. Work through larger groups of balls before checking individual desks and corners. Keep the warning about elevators in mind while exploring, and use the Scanner when furniture makes the remaining balls hard to spot.
Track Hotel Work by Room Number
Use the Cleaning Schedule in the Hotel hallway to choose an unfinished numbered room. Match the entry to its door, collect the balls inside and mark the number after finishing the work. Read door numbers again on later visits, and stop opening new rooms when it is time to return to the starting office.
Finish the Required Pits and Take the Exit
Ball Pit 8 requires 80,000 deposited balls and rewards the Exit Key. All eight pits together require 199,000 deposited balls before the Chapter 1 exit opens. A story clear lets you skip leftover loose balls, Sparrows, the 14 office decorations and optional achievements.
- Complete every unfinished numbered ball pit so all eight pit requirements are satisfied and the final exit becomes available.
- Return to the back of the central Playroom to find the rear double push doors.
- Walk through the rear double exit doors to finish the chapter and unlock Clock out.